How to fill in a vehicle check-in form: a guide for the service desk
What belongs on a vehicle check-in form, in what order to fill it in, and how to record damage and the customer's signature so hand-over goes smoothly.
4 min read
On this page
- Why the check-in form matters
- What every check-in form needs
- Checking a car in, step by step
- 1. Know the car and the customer
- 2. Walk round the car together
- 3. Write the complaint in the customer's words
- 4. Agree the work and the ready time
- 5. Have the customer sign
- Common mistakes
- Vehicle check-in in Coudy Garage
At nine in the morning three cars pull up at once. The service advisor jots down one customer's complaint, hangs another's keys on the board, and the third owner asks, in a hurry, whether the car will be ready tonight. At hand-over that evening one says "that scratch wasn't there", and another reminds you that they also mentioned the brake pads.
Nearly every one of those arguments is settled at check-in. A well-filled vehicle check-in form protects the customer and the workshop alike: how the car arrived, what the customer asked for and what the workshop took on are all written down in one place.
Why the check-in form matters
The check-in form records the state of the car the moment it is handed over, and the agreement made with the customer. It does three jobs:
- It documents the car's condition on arrival. A scratch, a dent, a cracked headlight, a missing mat: when someone says "that wasn't there", this is where you look.
- It pins down what the customer wants. "It makes a noise" and "a knock from the front right over bumps" are not the same thing. The clearer the complaint, the less the mechanic has to guess.
- It records the work and the promise. Which parts, which labour, ready when: a promise that is written down does not get forgotten.
What every check-in form needs
The details vary between workshops, but a good check-in form has these sections.
| Section | What goes in it |
|---|---|
| Customer | Name or company, phone, and the person who brought the car if it isn't the owner |
| Vehicle | Registration, make and model, VIN, mileage |
| Complaint | The problem in the customer's own words, and when it started |
| Condition | Damage, missing items, belongings left in the car, photos |
| Work | Parts and labour lines, an estimate, the promised ready time |
| Approval | The customer's signature and the date |
Checking a car in, step by step
1. Know the car and the customer
Start with who and what has arrived. If the customer has been before, a look at the service history helps: a part changed last month may be the clue to today's complaint. Always read and record the mileage; service intervals and warranty conversations depend on it.
2. Walk round the car together
Check for damage while the customer is still with you. Mark every scratch and dent you see as you walk round, and photograph it. Damage you looked at together does not turn into an argument at hand-over.
Write down what is left in the car too: a child seat, a dash cam, a bag in the boot. A short note prevents a big loss.
3. Write the complaint in the customer's words
Listen without leading, then narrow it down with questions: when does it happen, at what speed, cold or warm? Write the complaint, not a diagnosis. "Pads are worn" is a guess; "grinding noise when braking" is a complaint.
4. Agree the work and the ready time
Go through the parts and labour, the estimate and the ready time with the customer. Tell them up front that anything extra found during the job will be approved separately, so the invoice holds no surprises.
5. Have the customer sign
When the form is complete, the customer reads and signs it. The signature shows they agree with the car's condition on arrival and with the work to be done. With a paper form, they keep a copy.
Common mistakes
- Leaving the damage check for later. The scratch you meant to look at tonight becomes your scratch tonight.
- Shortening the complaint. "Engine" on its own is not a complaint.
- Promising the ready time out loud only. An unwritten promise is one both sides remember differently.
- Approving extra work by phone and not writing it down. Without a record of the approval, the argument over the invoice never ends.
Vehicle check-in in Coudy Garage
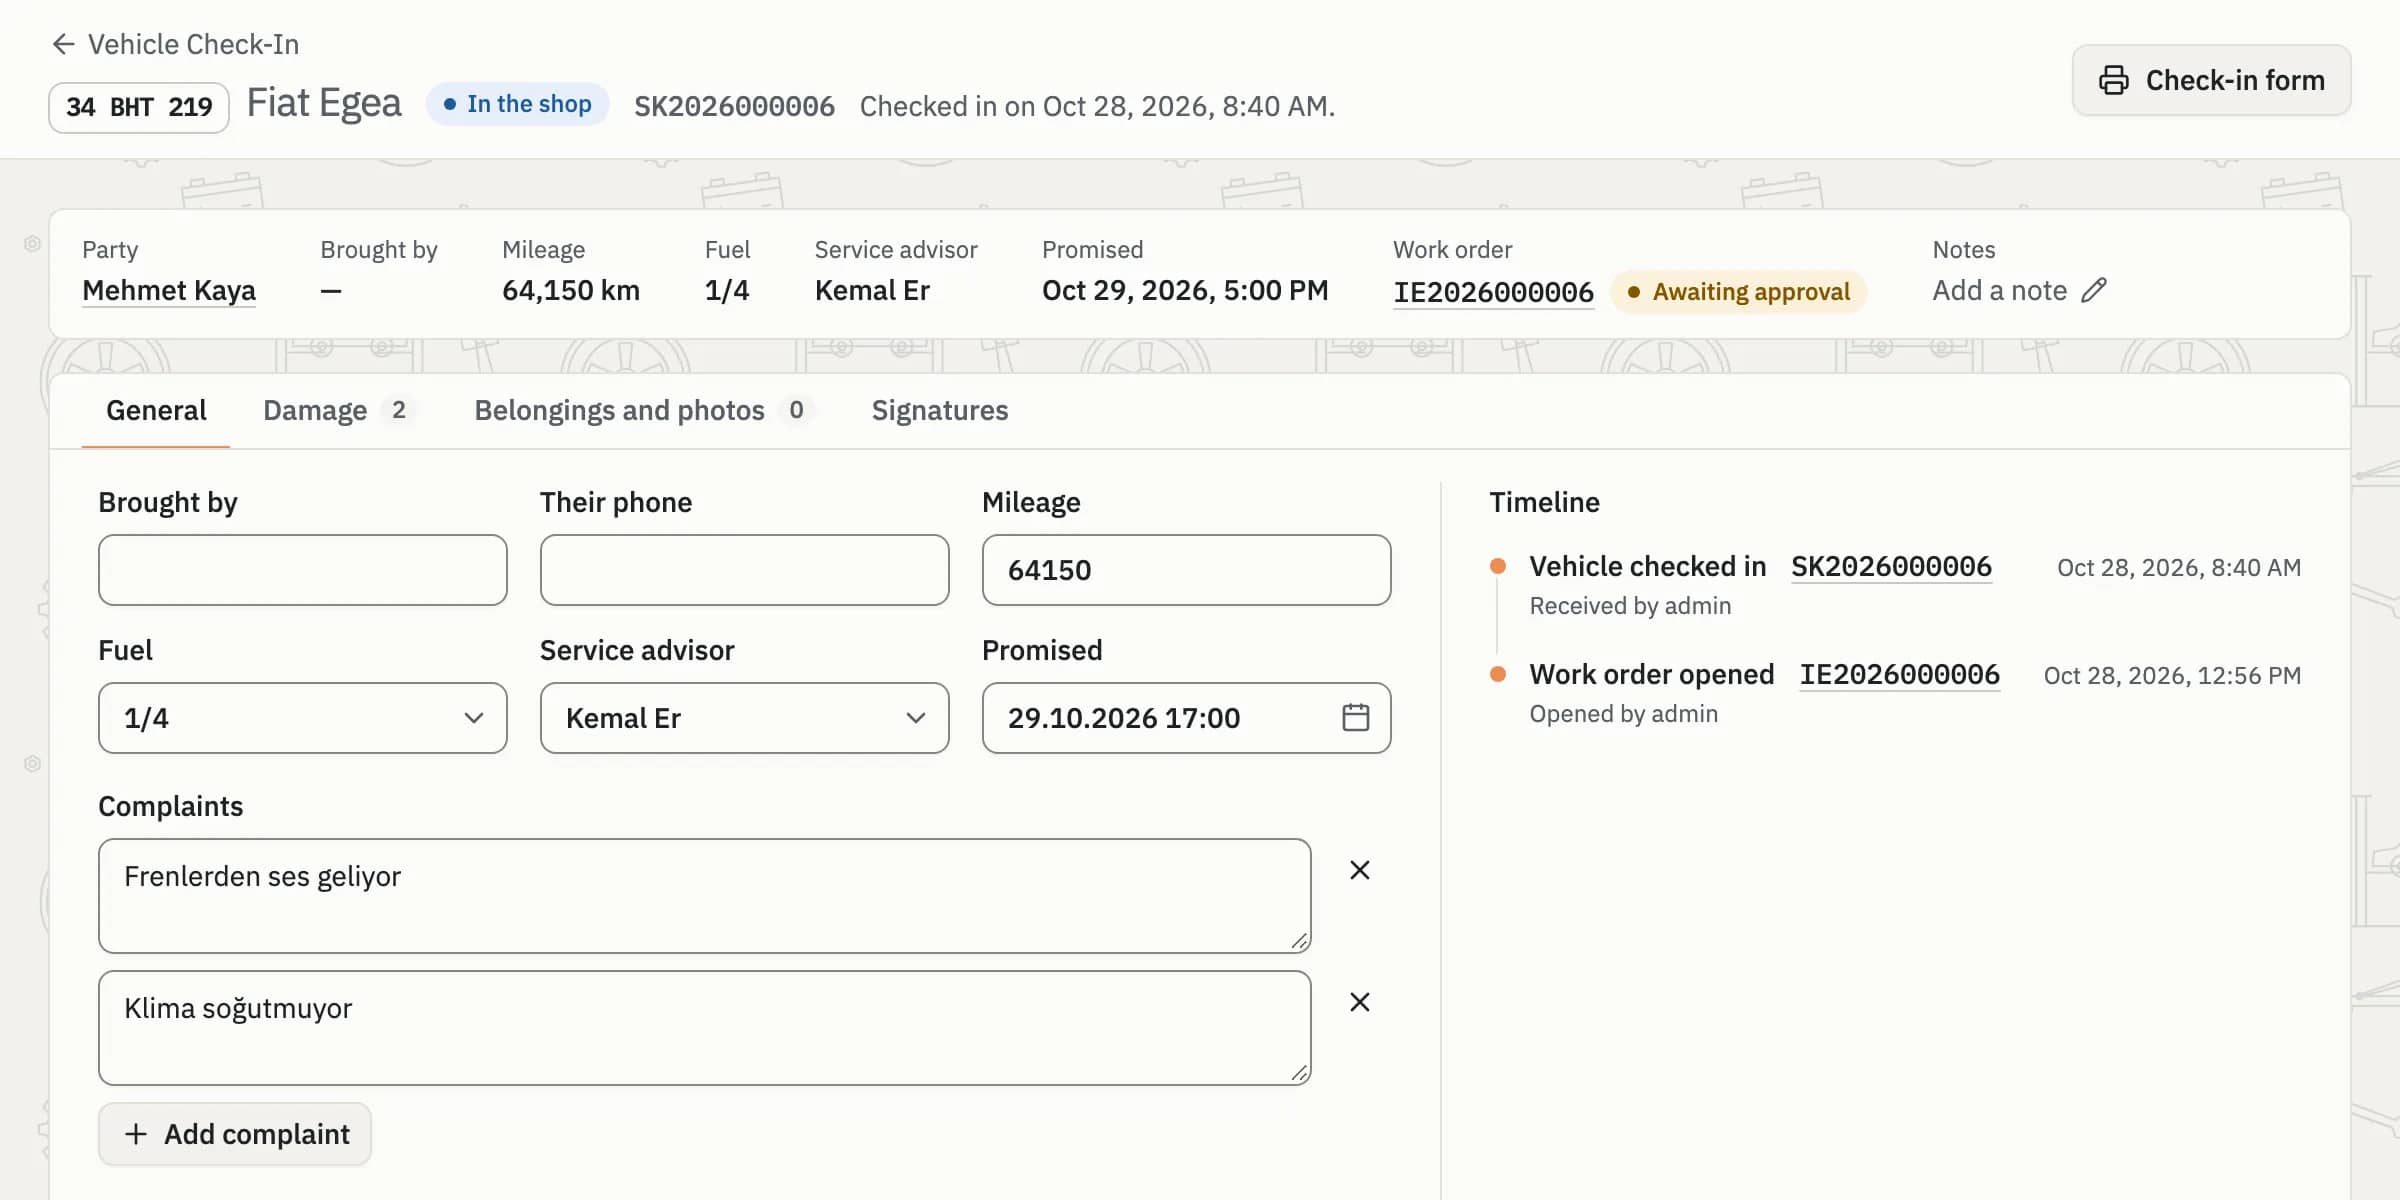
In Coudy Garage, check-in runs in four steps: the service check, the vehicle's condition, the customer's complaints, and the parts and labour to be done. Every advisor asks the same questions in the same order, so no step is skipped.
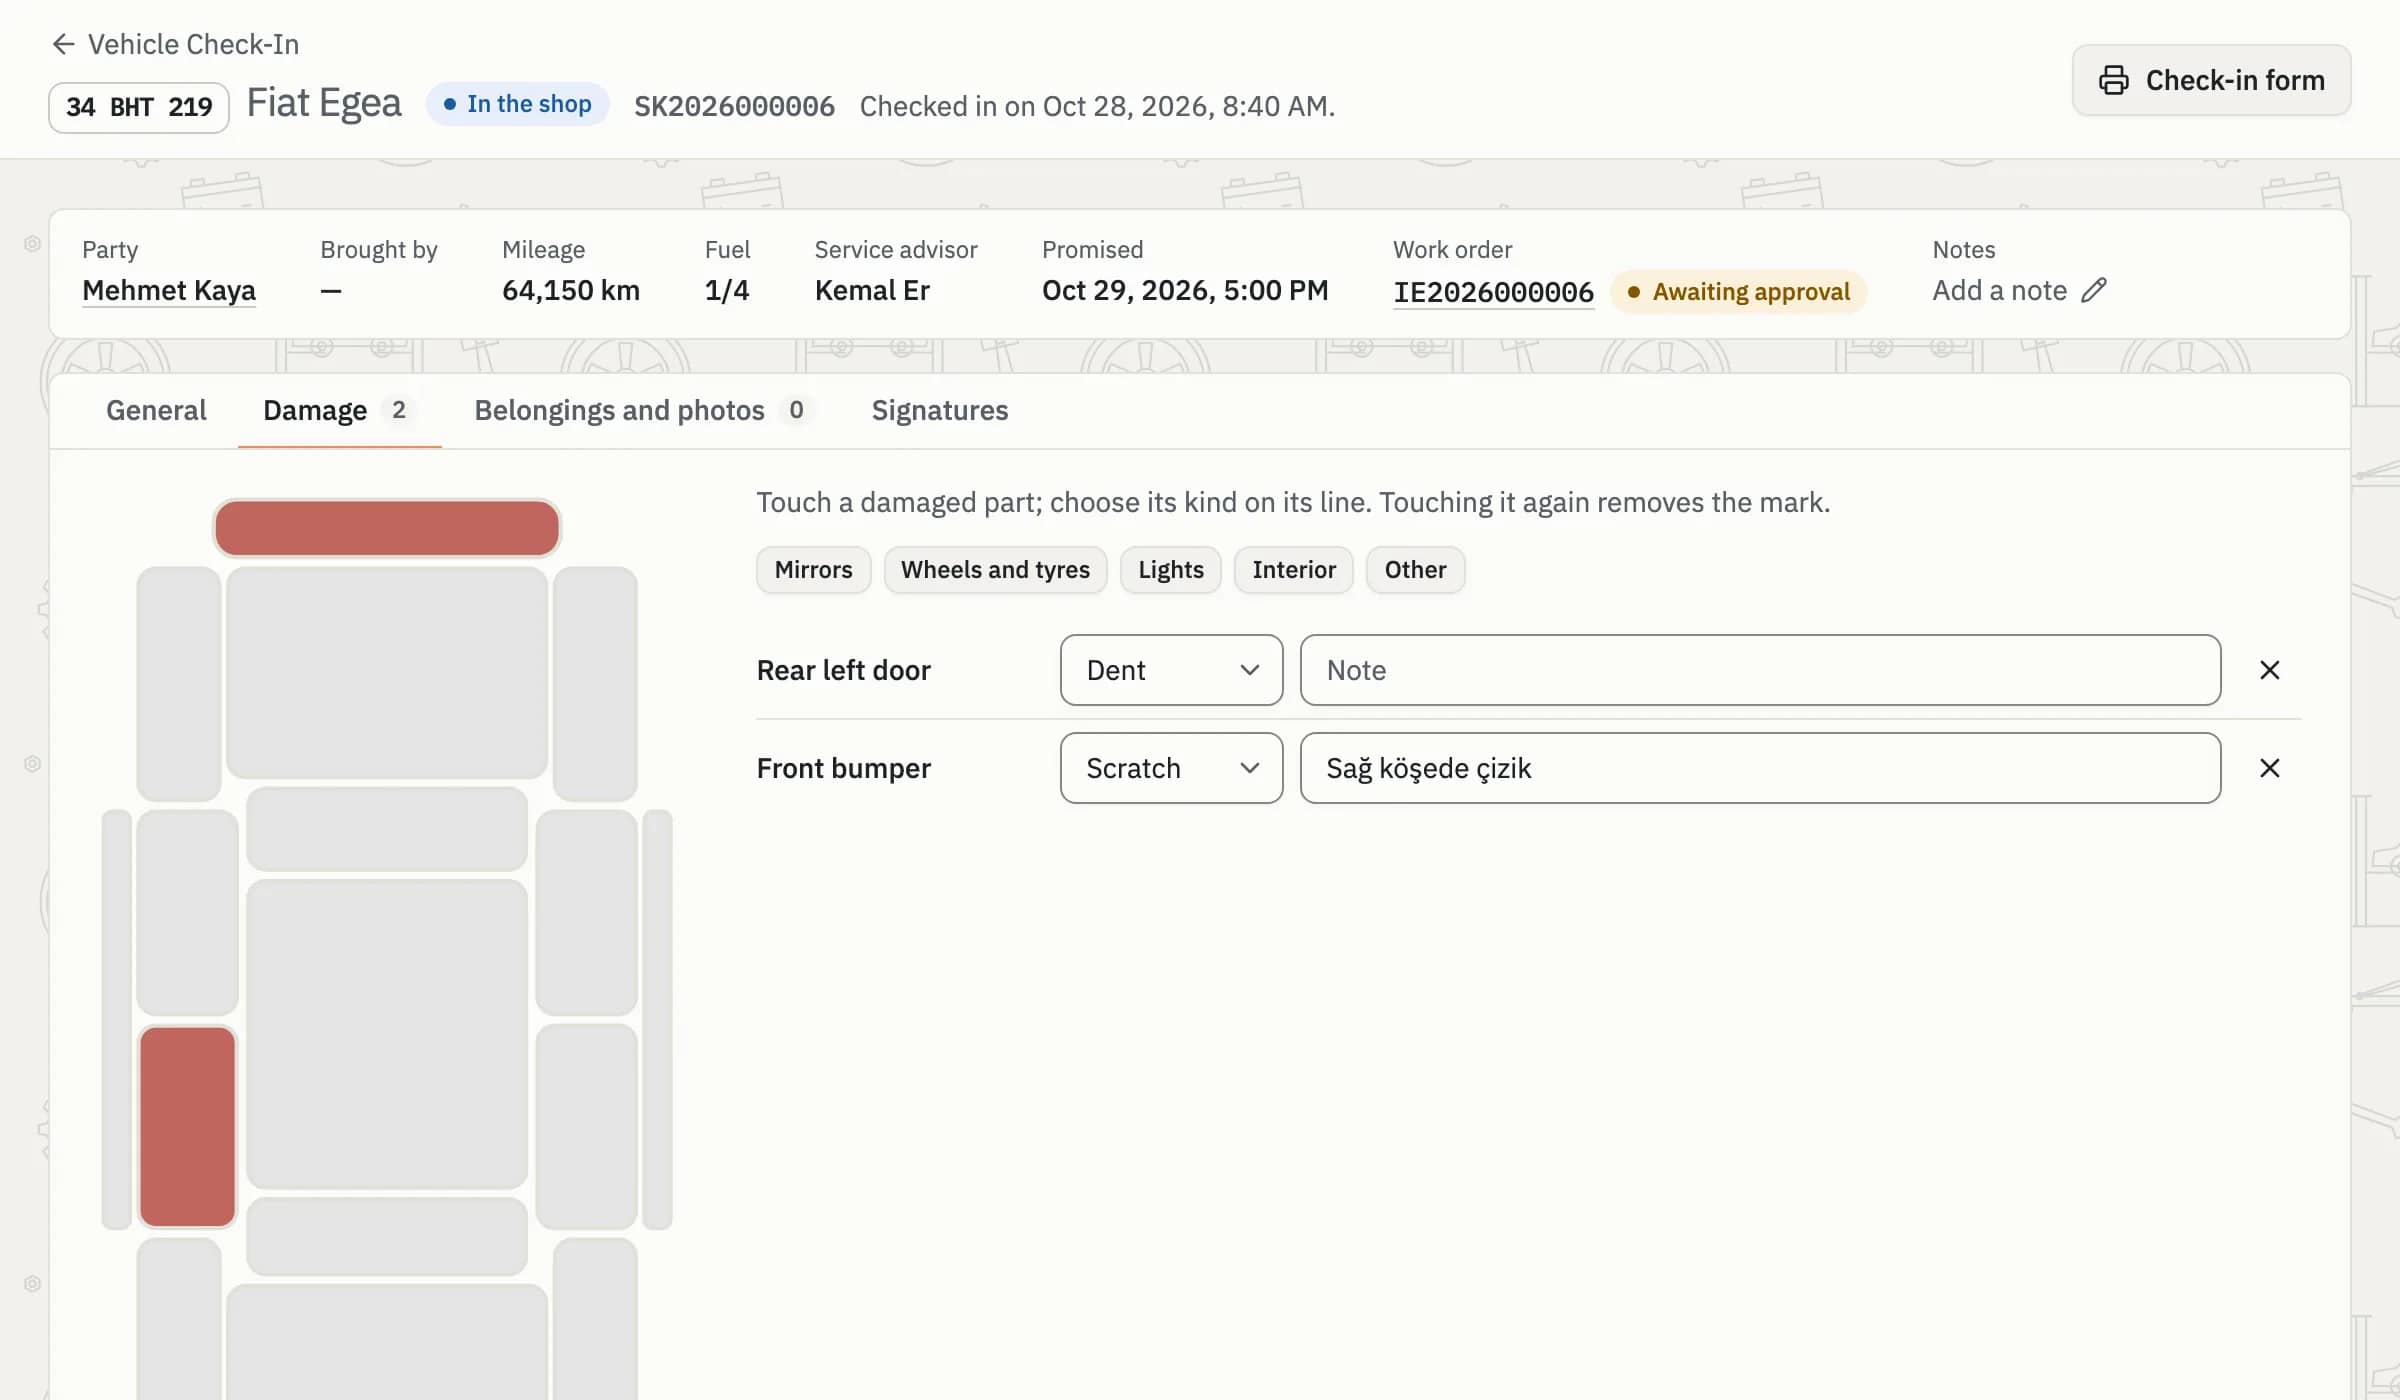
The Damage tab of a check-in in Coudy Garage.
Damage is marked on a diagram of the car, and photos, notes and belongings left in the car are added to the check-in. The customer signs the check-in on their own phone: a link opened from a QR code shows them the details to approve, with no paper or tablet needed. If extra work turns up during the job, the customer approves or declines each item from their phone as well. You can also print the check-in form on A4 or A5.
For more, see the vehicle check-in and repair order page and the customer signature page.